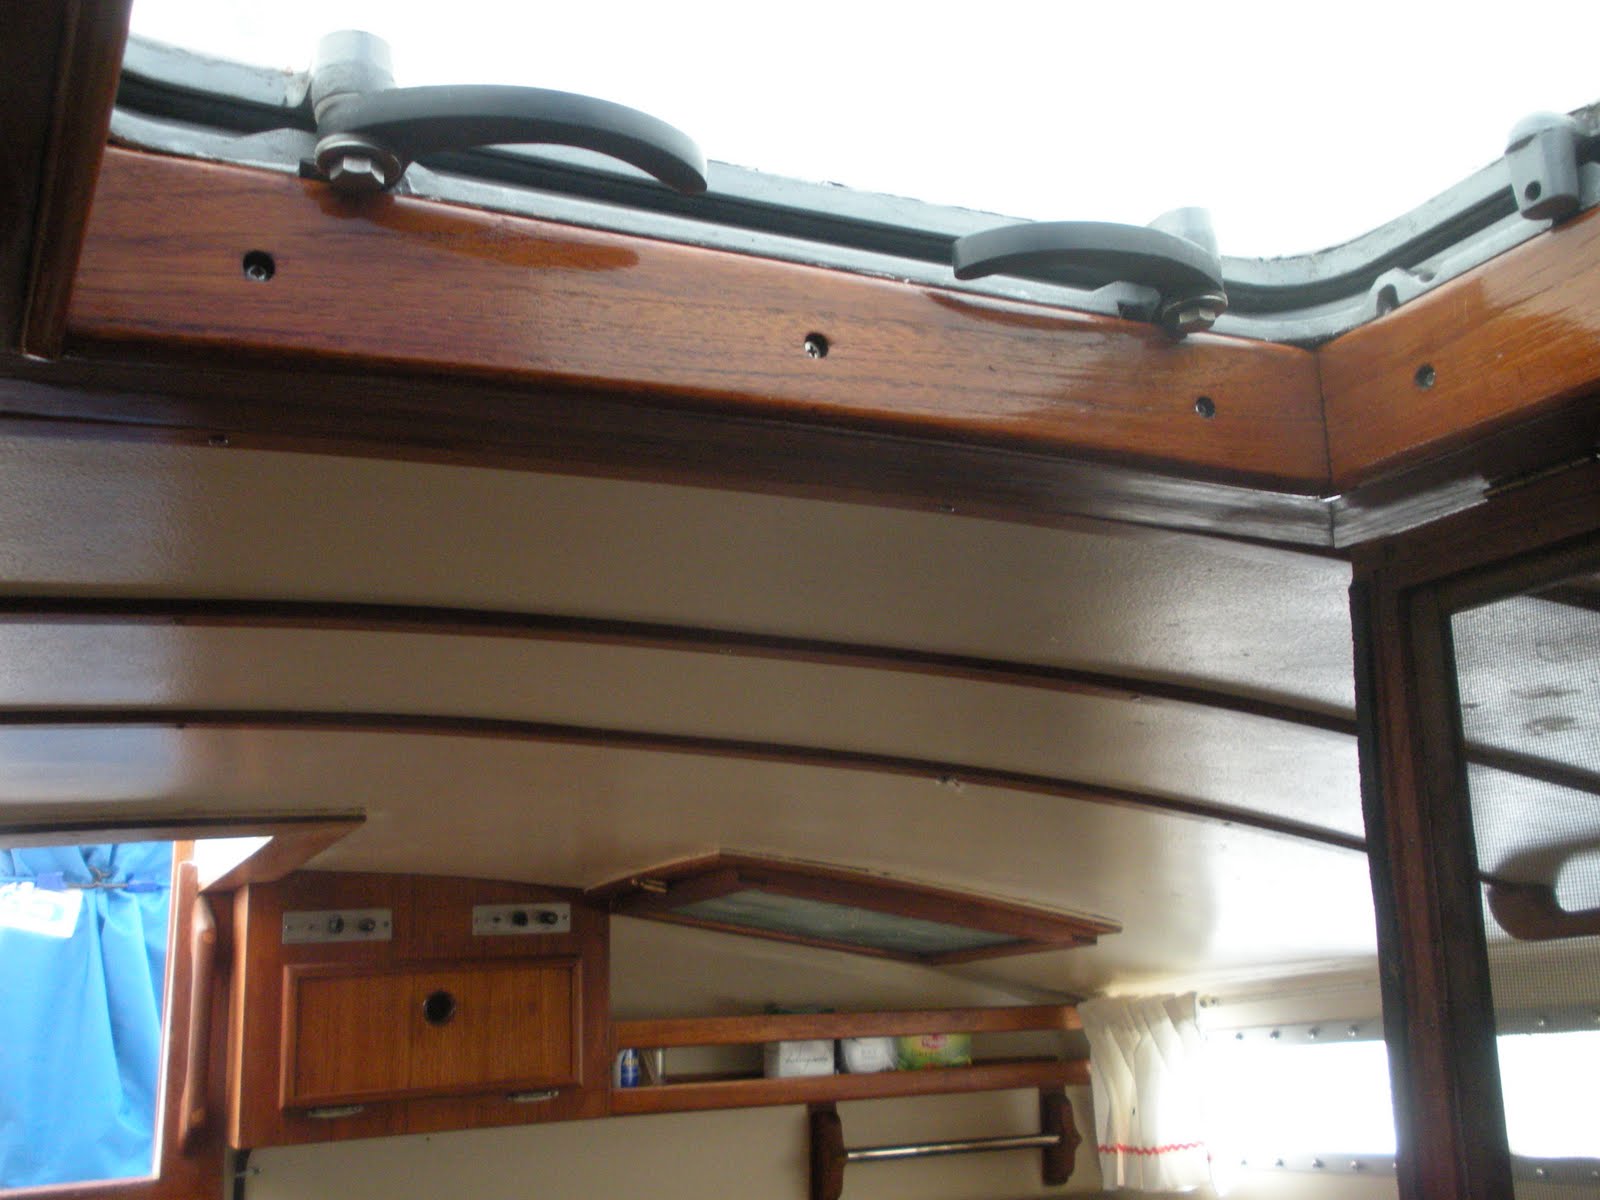
There is a problem child in this picture. It's not the good looking girl on the left (Di's daughter Jacque). It's the salon deck hatch (the metal and glass on the right). It leaks, but only when Mother Nature is blowing stink and it's raining sideways. From the inside, I could see daylight under the seal with the hatch closed. It looked like the base of the hatch was bowed down in the center, so I backed the screws out that held the bottom plate down. The bottom plate sprang up and sealed with the top plate.
There was also a chance that the core of the deck is waterlogged and rotten and would need to be replaced. Our moisture meter indicated no problem and I knew that the previous owner had repaired delamination on of the foredeck. I drilled out all the screw holes with an oversized bit. No moisture or rot! Maybe the hatch was carelessly reinstalled after the core repair or the Awlgrip paint job were done. I didn't know the why, I just knew I had to fix it.
The next four pictures are of the opening for the deck hatch with a carpenter square on the four corners.
With all four corners being high I built up the four sides with epoxy to make a nice flat surface for the deck hatch. First I framed the inside of the hole with wood wrapped in Glad ClingWrap with the top part of the wood sticking up out of the hole about 1/2" to create a form to contain the epoxy. Next I built up the outside edge of where the hatch frame would go with clear packing tape. West System epoxy will not stick to the packing tape or the ClingWrap. I filled all the drilled out screw holes with epoxy, then mixed some 405 filler with the epoxy to build up the sides. It took two coats before I could sand it flat.
My next step was to screw the base of the hatch down and put the top part on. It worked, no gaps! So I took it all apart and caulked the base with Life Caulk and put it all back together again.
Diane put a nice finish on the inside trim while it was off. Next she will put the plugs in that cover the screws and another coat of Epiphanes varnish.
Diane will touch up the finish with some white Awlgrip paint and an artists brush. We make a good team, I rip things up and she makes them look good when I'm done! Happy Sails..................rr


No comments:
Post a Comment